My 2010 Macbook Pro Upgrade
by brian
Giving your mac a new lease on life
My mid-2010 Macbook Pro had been getting really slow lately. It was suffering from the classic Apple upgrade syndrome—upgrade your >1 year old piece of hardware to the latest OS, and start taking a lag hit with every action you take. My bottleneck seemed to be a mix of memory and HD access time.
The common suspicion I heard echoed from some friends is that Apple has no incentive to bother performance optimizing / testing for older platforms beyond a minimal “does it crash” threshold.
Well, with a non-SSD and only 4GB of RAM, I suppose I was not in a position to develop conspiracy theories.
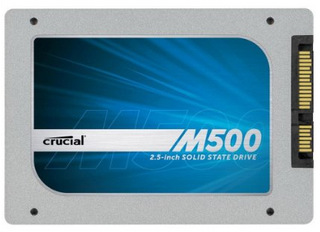
I was considering upgrading my Mac (to something like one of the new Macbook Airs or Macbook Pros). After evaluating it for a bit it looked like my two main bottlenecks are memory (I had 4GB at the time) and hard drive read speed (had a 256GB non-SSD), not the type of thing you’d need to replace your full machine for (e.g., if you really want a Retina display, faster processor [how much compiling are you doing anyway?], or to move to an Air-sized laptop).
So I upgraded my Mac!
Choosing the Parts
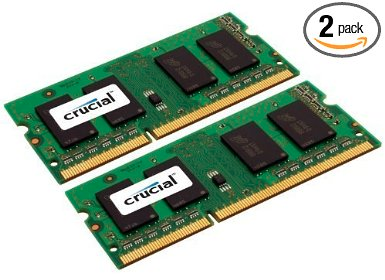
Came across a nice memory upgrade guide that Crucial put together that told me which hard drives and memory sticks would be compatible with my machine. Then I did a bit of research on alternatives, found the items on Amazon, and ordered them.
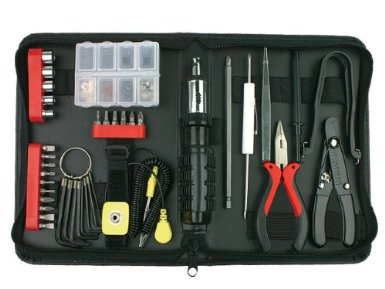
Rosewill 45 Piece Computer Toolkit
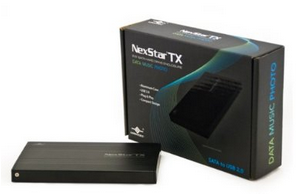
USB Hard Drive Enclosure (to copy my old files over)
The upgrade process was fairly smooth, save for having to find a Philips-head #0 or #00 screwdriver. Those things are small!
Searching, searching, searching through my tech boxes and such. Aha! I happened upon a good sized screwdriver in a computer toolkit I got back when I was building a gaming PC and went to work disassembling according to Apple’s service instructions.
For the SSD conversion I had to take off the nut things on the side, so I needed a Torx screwdriver, and that same kit had a tool close enough to work.
The tough part was getting the bottom of the case back on. It didn’t snap back into a perfect position, it took a bit of eye-balling to make most of the screws line up.
Installing OS X Mavericks
I decided instead of copying my entire drive over I would start fresh. Before I began the disassembly process, I put together a bootable drive using an old USB hard drive.
I used the boot disk creation instructions here (I went with Option 1, using the terminal command createinstallmedia to put the drive together).
I had a brief moment of panic when I turned the Mac with new SSD and RAM on and my hard drive was not recognized.
After Googling it I saw I needed to format the drive before going directly into the installer. Fortunately the boot disk has Disk Utility which you can use to do that.
All in all it was definitely worth it. My machine is running speedily now and I can do screencasts without it feeling incredibly slow.
Getting a Few Fun Utilities
Since I had an empty Mac and I was installing my standard gamut of apps (Divvy, Launchy, iTerm, etc.), I figured I would try some new ones.
Some fun ones have been:


BetterTouchTool (set up a trackpad option to close a Chrome tab)
Now down to work!
UPDATE: Conclusion: Worth it!
The upgrade was definitely worth it. Swear I’m saving 5 seconds every minute by not having to endure extreme lag (even responding to a message in Messages would take 15-30 seconds total, and when the un-closable “Update OS X” popup would show up, it would be another 30 seconds to open the App Store app).
The extra hard drive space has been great, too.
Some Redditors on the /r/mac thread mentioned that enabling TRIM (either via some pretty hefty shell commands or by a TRIM-enabling app) is sometimes necessary for non-Apple produced SSDs. According to this discussion, though, Crucial techs suggest not enabling TRIM on their SSDs.
I additionally followed some of the steps in this guide that will help improve the life/performance of the SSD.
All in all: